
 简体中文
简体中文生产者-消费者与阻塞队列


在讨论线程协作的时候,已经讨论了生产者与消费者雏形,比如录音是生产者,而播放则是消费者;同样的,在汽车打蜡的模型中,打蜡可看作生产者,抛光可看作消费者;只是它们的关系是简单的生产-消费关系。
除了简单的线程协同之外,Java提供了同步队列来解决线程的协同问题,本节重点讨论这部分的内容。
线程协同 #
不妨继续查看一个示例:
饭店类,有一个餐点类和一个使用volatile修饰的计数器,用来统计进餐的次数。
 1public class Restaurant {
 2    private Meal meal;
 3    private volatile int count;
 4
 5    static class Meal {
 6        int orderNum;
 7
 8        public Meal(int orderNum) {
 9            this.orderNum = orderNum;
10        }
11
12        @Override
13        public String toString() {
14            return "Meal " + orderNum;
15        }
16    }
17}
厨师线程,负责提供餐点。当饭店有多余餐点时,等待服务员消耗餐点;当餐点消耗完时,则被唤醒继续提供餐点。
 1    class Chef implements Runnable {
 2
 3        final Restaurant rest;
 4
 5        public Chef(Restaurant rest) {
 6            this.rest = rest;
 7        }
 8
 9        @Override
10        public void run() {
11            while (!Thread.interrupted()) {
12                synchronized (rest) {
13                    if (rest.meal != null) {
14                        try {
15                            rest.wait();
16                        } catch (InterruptedException e) {
17                            System.out.println("Exit Chef by Interrupted");
18                            return;
19                        }
20                    }
21
22                   /* try {
23                        TimeUnit.MILLISECONDS.sleep(100);
24                    } catch (InterruptedException e) {
25                        System.out.println("Exit Chef Sleep by Interrupted");
26                        return;
27                    }*/
28                    rest.meal = new Meal(++rest.count);
29                    rest.notifyAll();
30                }
31            }
32            System.out.println("Exit Chef");
33        }
34    }
服务员线程,当饭店没有餐点时,则等待厨师制作餐点;若有餐点,则消耗餐点
 1
 2    class Waiter implements Runnable {
 3
 4        final Restaurant rest;
 5
 6        public Waiter(Restaurant rest) {
 7            this.rest = rest;
 8        }
 9
10        @Override
11        public void run() {
12            while (!Thread.interrupted()) {
13                synchronized (rest) {
14                    if (rest.meal == null) {
15                        try {
16                            rest.wait();
17                        } catch (InterruptedException e) {
18                            System.out.println("Exit Waiter by Interrupted");
19                            return;
20                        }
21                    }
22                    System.out.println("order up: " + rest.meal);
23                    rest.meal = null;
24                    rest.notifyAll();
25                }
26            }
27            System.out.println("Exit Waiter");
28        }
29    }
主线程,不断运行厨师和服务员线程。直到饭店提供10份餐点为止。
 1    public static void main(String[] args) {
 2        ExecutorService pool = Executors.newCachedThreadPool();
 3        Restaurant restaurant = new Restaurant();
 4        pool.execute(new Waiter(restaurant));
 5        pool.execute(new Chef(restaurant));
 6
 7        while (true) {
 8            synchronized (restaurant) {
 9                if (restaurant.count == 10) {
10                    pool.shutdownNow();
11                    break;
12                }
13            }
14        }
15        // end
16    }
/*(sample)
order up: Meal 1
order up: Meal 2
order up: Meal 3
order up: Meal 4
order up: Meal 5
order up: Meal 6
order up: Meal 7
order up: Meal 8
order up: Meal 9
order up: Meal 10
exit waiter by interrupted
Exit Chef
*///:~
主线程中的while循环必须使用同步块获取restaurant的锁,以保证其在获取count值的时候没有其他线程对其进行修改。可以看到输出结果满足预期,waiter任务执行10次之后程序退出。
我们不妨关注一下任务结束的方式:在输出样例中,Waiter被中断,而Chef是正常退出1。中断的线程一定是wait状态,此时Waiter在wait,而Chef正好满足运行的条件,但此时主线程的线程池发出了interrupt()命令,所以Chef的while循环的判断条件不成立,不运行while语句而退出。
如果我们取消Chef任务中的注释部分,那么任务结束的方式又会有所不同:
Exit Chef Sleep by Interrupted
Exit Waiter by Interrupted
除此之外,关于此示例,还有一些特别说明:
可以使用
try-catch块包含任务的while循环,这样保证任何时候出现异常都能结束任务;示例中对每个可能出现异常的地方使用try-catch主要是为了明确异常发生的地方罢了;关于使任务进入等待的条件,示例中使用了
if语句进行判断,实际上更通用的方法是使用while循环(虽然个人感觉没有实质上的差别)。1synchronized(monitor){ 2 while(condition){ 3 wait(); 4 } 5}
类似这样的例子,之前的文章已经讨论过很多次了。实现同步的方式使用同步块+线程等待/唤醒。前文也讨论了Java提供的一些线程交互的API(如join()方法)。
阻塞队列 #
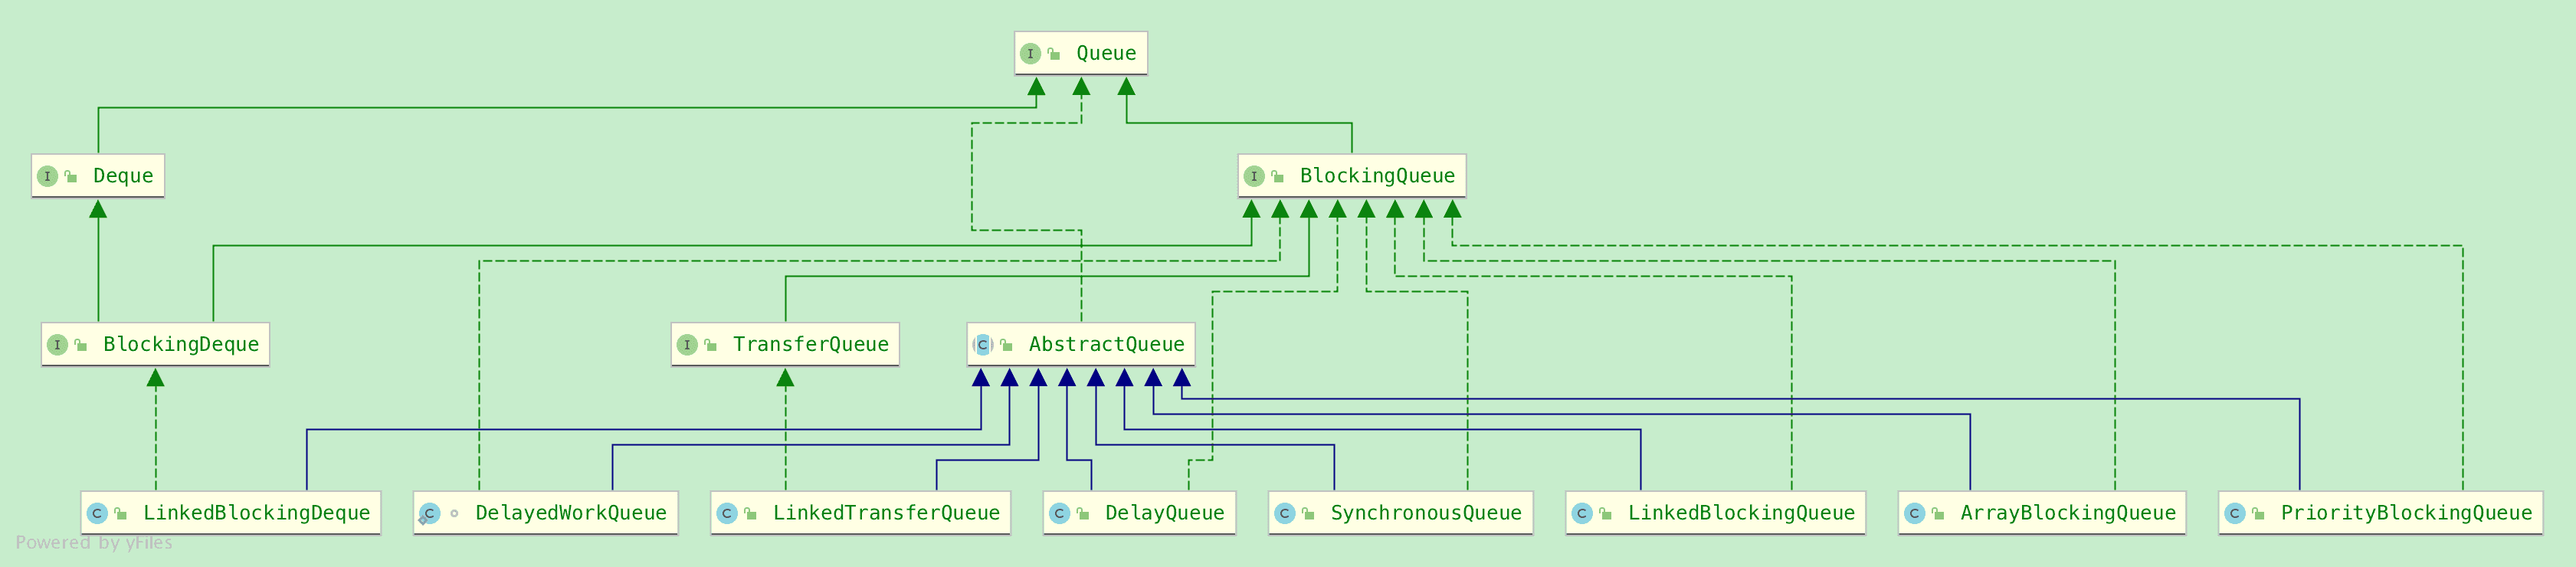
java.util.concurrent包中提供了 同步队列 来解决线程协作的问题,同步队列在任意时刻都只允许一个任务插入或移除元素,juc包中同步队列的顶级接口是BlockingQueue,其有大量实现,LinkedBlockingQueue是一个无界队列;ArrayBlockingQueue具有固定的尺寸,在其元素数达到容量限制时,再向其他插入元素则会阻塞;SynchronousQueue是一个没有容量的同步队列,仅当有任务从队列中移除元素时,另一任务才可以向队列中插入元素,反之亦然。
| 操作 | 抛出异常 | 返回特殊值 | 阻塞 | 超时阻塞 |
|---|---|---|---|---|
| 插入 | add(e) | offer(e) | put(e) | offer(e, time, unit) |
| 移除 | remove() | poll() | take() | poll(time, unit) |
| 检查 | element() | peek() | --- | --- |
上表展示了阻塞队列的方法概要,与 普通队列相比,阻塞队列添加了阻塞和超时阻塞的方法:
void put(E e) throws InterruptedException
    向队列中插入元素,队列中没有空间时一直等待

E take() throws InterruptedException
    取出队首的元素,队列为空时一直等待

boolean offer(E e, long timeout, TimeUnit unit) throws InterruptedException
    向队列中插入元素,超时等待队列中空间可用,超时之前插入则返回true,超时则返回false

E poll(long timeout, TimeUnit unit) throws InterruptedException
    取出队首的元素,超时等待队首元素可用,返回该元素或者null(超时)
下面我们以ArrayBlockingQueue和LinkedBlockingQueue为例,看看阻塞队列是如何阻塞和唤醒的:
ArrayBlockingQueue #
这是一个典型的FIFO队列,新的元素插入队尾,并从队首移出。ArrayBlockingQueue是有界队列,构造器带有一个初始容量参数,一旦初始化,这个容量不能改变。
下面列出ArrayBlockingQueue的几个重要成员变量和构造器
 1/** The queued items */
 2final Object[] items; // 可以看到是用对象数组实现
 3
 4/** Main lock guarding all access */
 5final ReentrantLock lock;   // 唯一的锁
 6
 7/** Condition for waiting takes */
 8private final Condition notEmpty;   // 条件1,非空
 9
10/** Condition for waiting puts */
11private final Condition notFull;    // 条件2, 非满
12
13// constructor
14public ArrayBlockingQueue(int capacity, boolean fair) {
15    if (capacity <= 0)
16        throw new IllegalArgumentException();
17    this.items = new Object[capacity];
18    lock = new ReentrantLock(fair);
19    notEmpty = lock.newCondition();
20    notFull =  lock.newCondition();
21}
基本上,ArrayBlockingQueue类所有同步方法使用的就是上面的可重入锁(ReentrantLock)及其条件,我们主要观察put(e)和take()方法是如何阻塞和唤醒的:
 1// put
 2public void put(E e) throws InterruptedException {
 3    checkNotNull(e);
 4    final ReentrantLock lock = this.lock;
 5    lock.lockInterruptibly();
 6    try {
 7        while (count == items.length)
 8            // 没有空间时等待
 9            notFull.await();
10        enqueue(e);
11    } finally {
12        lock.unlock();
13    }
14}
15
16private void enqueue(E x) {
17    // assert lock.getHoldCount() == 1;
18    // assert items[putIndex] == null;
19    final Object[] items = this.items;
20    items[putIndex] = x;
21    if (++putIndex == items.length)
22        putIndex = 0;
23    count++;
24    // 唤醒一个等待的take()方法
25    notEmpty.signal();
26}
27
28// take
29public E take() throws InterruptedException {
30    final ReentrantLock lock = this.lock;
31    lock.lockInterruptibly();
32    try {
33        while (count == 0)
34            // 没有元素时等待
35            notEmpty.await();
36        return dequeue();
37    } finally {
38        lock.unlock();
39    }
40}
41
42private E dequeue() {
43    // assert lock.getHoldCount() == 1;
44    // assert items[takeIndex] != null;
45    final Object[] items = this.items;
46    @SuppressWarnings("unchecked")
47    E x = (E) items[takeIndex];
48    items[takeIndex] = null;
49    if (++takeIndex == items.length)
50        takeIndex = 0;
51    count--;
52    if (itrs != null)
53        itrs.elementDequeued();
54    // 唤醒一个等待的put()方法
55    notFull.signal();
56    return x;
57}
可以看到,阻塞队列的put(e)和take()方法是互相唤醒的,因此是生产——消费模式的绝佳实现。同时也注意到,方法中使用显式锁的可中断获取锁方法,以便在必要的时候中断,避免出现阻塞无法响应的情况。
同时,ArrayBlockingQueue的put(e)和take()方法使用的是同一个锁对象,这就意味着同一时刻只能有一个任务执行插入或移除元素的操作。
ArrayBlockingQueue的put(e)和take()逻辑可以简单概括为:

ArrayBlockingQueue的put/take方法流程图
LinkedBlockingQueue #
这是一个基于 linked nodes 的FIFO队列,如果构造时不指定容量,其容量默认为Integer.MAX_VALUE。
下面列出了LinkedBlockingQueue关于put(e)和take()的主要字段:
 1/** Lock held by take, poll, etc */
 2private final ReentrantLock takeLock = new ReentrantLock();
 3
 4/** Wait queue for waiting takes */
 5private final Condition notEmpty = takeLock.newCondition();
 6
 7/** Lock held by put, offer, etc */
 8private final ReentrantLock putLock = new ReentrantLock();
 9
10/** Wait queue for waiting puts */
11private final Condition notFull = putLock.newCondition();
可以看到,LinkedBlockingQueue的put(e)和take()方法分别拥有一个锁对象,我们不妨看看它们在对应方法中的行为:
 1// put
 2public void put(E e) throws InterruptedException {
 3    if (e == null) throw new NullPointerException();
 4    // Note: convention in all put/take/etc is to preset local var
 5    // holding count negative to indicate failure unless set.
 6    int c = -1;
 7    Node<E> node = new Node<E>(e);
 8    // 使用put锁
 9    final ReentrantLock putLock = this.putLock;
10    final AtomicInteger count = this.count;
11    putLock.lockInterruptibly();
12    try {
13        while (count.get() == capacity) {
14            // 满时在put锁上等待
15            notFull.await();
16        }
17        enqueue(node);
18        c = count.getAndIncrement();
19        if (c + 1 < capacity)
20            // 再次检查,若不满,则唤醒其他等待的put任务
21            // 因为put和take使用的是不同的锁,可能t1在put时进入了等待,
22            // 而t2在put时运行到这一步时,线程t3已经take走了几个元素,
23            // 而此时队列中尚存在多个元素(t1不能被t3唤醒)
24            // 于是t2发现队列存在空间,则t1可以被唤醒
25            notFull.signal();
26    } finally {
27        putLock.unlock();
28    }
29    if (c == 0)
30        // 若c=0,此时count=1,队列中有元素,唤醒等待的take任务
31        signalNotEmpty();
32}
33
34private void signalNotEmpty() {
35    final ReentrantLock takeLock = this.takeLock;
36    takeLock.lock();
37    try {
38        notEmpty.signal();
39    } finally {
40        takeLock.unlock();
41    }
42}
43
44// take
45public E take() throws InterruptedException {
46    E x;
47    int c = -1;
48    final AtomicInteger count = this.count;
49    // 使用take锁
50    final ReentrantLock takeLock = this.takeLock;
51    takeLock.lockInterruptibly();
52    try {
53        while (count.get() == 0) {
54            // 空时等待
55            notEmpty.await();
56        }
57        x = dequeue();
58        c = count.getAndDecrement();
59        if (c > 1)
60            // 唤醒其他的take任务
61            // 若t1在take时发现队列为空进入等待,t2在take时运行到此时
62            // 发现队列已经被t3put了多个元素
63            // 那么t2就可以在此处直接唤醒t1
64            notEmpty.signal();
65    } finally {
66        takeLock.unlock();
67    }
68    if (c == capacity)
69        // 此时已经移除队首元素,队列有1个空间,唤醒等待的put任务
70        signalNotFull();
71    return x;
72}
73
74private void signalNotFull() {
75    final ReentrantLock putLock = this.putLock;
76    putLock.lock();
77    try {
78        notFull.signal();
79    } finally {
80        putLock.unlock();
81    }
82}
相较ArrayBlockingQueue而言,LinkedBlockingQueue的put(e)和take()方法稍显复杂,因为后者使用了2个锁对象,put(e)和take()方法除了被对方唤醒之外,还会被自己唤醒,更为重要的是,使用2个锁对象允许在同一时刻有至多2个任务分别进行put(e)和take()操作。

LinkedBlockingQueue的put/take方法流程图
SynchronousQueue #
SynchronousQueue是一个比较特殊的阻塞队列,它没有容量,它更像是一种机制:
当任务a试图向队列中插入元素时,必然要等待另一个任务b从队列中移除元素,反之亦然。
了解不同的阻塞队列 #
下例展示了不同阻塞队列实例在同一应用中的不同行为2:
  1public class TestBlockingQueue {
  2
  3    private BlockingQueue<LiftOff> rockets;
  4
  5    private TestBlockingQueue(BlockingQueue<LiftOff> rockets) {
  6        this.rockets = rockets;
  7    }
  8
  9    static TestBlockingQueue getLinkedBlockingQueue() {
 10        return new TestBlockingQueue(new LinkedBlockingQueue<>());
 11    }
 12
 13    static TestBlockingQueue getArrayBlockedQueue(int capacity) {
 14        return new TestBlockingQueue(new ArrayBlockingQueue<>(capacity));
 15    }
 16
 17    static TestBlockingQueue getSynchronousQueue() {
 18        return new TestBlockingQueue(new SynchronousQueue<>());
 19    }
 20
 21    void add() throws InterruptedException {
 22        rockets.put(new LiftOff(1));
 23    }
 24
 25    LiftOff take() throws InterruptedException {
 26        return rockets.take();
 27    }
 28
 29    class LiftOffAdder implements Runnable {
 30
 31        @Override
 32        public void run() {
 33            try {
 34                while (!Thread.interrupted()) {
 35                    add();
 36                    Thread.yield();
 37                }
 38                System.out.println("Exiting LiftOffAdder");
 39            } catch (InterruptedException e) {
 40                System.out.println("Interrupted during add()");
 41            }
 42        }
 43    }
 44
 45    class LiftOffRunner implements Runnable {
 46
 47        @Override
 48        public void run() {
 49            try {
 50                while (!Thread.interrupted()) {
 51                    LiftOff rocket = take();
 52                    // 在此线程上运行
 53                    rocket.run();
 54                    try {
 55                        TimeUnit.MILLISECONDS.sleep(100);
 56                    } catch (InterruptedException e) {
 57                        System.out.println("Interrupted during sleep");
 58                        // return 语句是必须的,捕获异常后状态被清除了,while循环无法终止
 59                        return;
 60                    }
 61                }
 62                System.out.println("Exiting LiftOffRunner");
 63            } catch (InterruptedException e) {
 64                System.out.println("Interrupted during take()");
 65            }
 66        }
 67    }
 68
 69
 70    @SneakyThrows
 71    void test(String msg) {
 72        System.out.println(msg);
 73        ExecutorService pool = Executors.newCachedThreadPool();
 74        LiftOffRunner runner = this.new LiftOffRunner();
 75        LiftOffAdder adder = this.new LiftOffAdder();
 76        pool.execute(runner);
 77        pool.execute(adder);
 78
 79        TimeUnit.SECONDS.sleep(1);
 80        pool.shutdownNow();
 81        System.out.println("rocket still in queue: " + rockets.size());
 82    }
 83
 84    public static void main(String[] args) {
 85        getLinkedBlockingQueue().test("LinkedBlockingQueue");
 86        getArrayBlockedQueue(1).test("ArrayBlockingQueue");
 87        getSynchronousQueue().test("SynchronousQueue");
 88    }
 89}/* output(sample)
 90LinkedBlockingQueue
 91#0(LiftOff!),
 92#1(LiftOff!),
 93#2(LiftOff!),
 94#3(LiftOff!),
 95#4(LiftOff!),
 96#5(LiftOff!),
 97#6(LiftOff!),
 98#7(LiftOff!),
 99Exiting LiftOffAdder
100rocket still in queue: 2087449
101Interrupted during sleep
102ArrayBlockingQueue
103#2087457(LiftOff!),
104#2087458(LiftOff!),
105#2087459(LiftOff!),
106#2087460(LiftOff!),
107#2087461(LiftOff!),
108#2087462(LiftOff!),
109#2087463(LiftOff!),
110#2087464(LiftOff!),
111#2087465(LiftOff!),
112#2087466(LiftOff!),
113rocket still in queue: 1
114Interrupted during sleep
115Interrupted during add()
116SynchronousQueue
117#2087469(LiftOff!),
118#2087470(LiftOff!),
119#2087471(LiftOff!),
120#2087472(LiftOff!),
121#2087473(LiftOff!),
122#2087474(LiftOff!),
123#2087475(LiftOff!),
124#2087476(LiftOff!),
125#2087477(LiftOff!),
126#2087478(LiftOff!),
127rocket still in queue: 0
128Interrupted during sleep
129Interrupted during add()
130 *///:~
在上面的示例中,有一个待发射的“火箭队列”,另有2个任务分别向队列中添加火箭和取出火箭执行发射,其中添加火箭的任务是以无限循环的形式进行的,只有当任务阻塞或者中断时添加任务才结束,而发射火箭的任务每100ms会从队列中取出火箭并发射。示例中有3个不同的阻塞队列实现,除了上面提到的两种之外,还有一个SynchronousQueue,主线程执行1s后通过执行器向所有任务执行中断命令,通过输出观察3个阻塞队列的行为。
首先是LinkedBlockingQueue,它是一个无界(Integer.MAX_VALUE)队列,我们看到它1s内完成了8次发射任务,这也是符合预期的,因为除了CPU休眠的时间,线程的上下文切换也会消耗部分时间,同时我们可以看到,由于没有容量限制,在短短的1s时间内,队列中的火箭实例竟然多达208万之多,队列的元素如此之多也会对性能有一定影响!最后发送中断命令之后,显而易见发射任务是在休眠时被中断退出的,而添加任务是正常退出的,这是由于没有容量限制,于是不存在让队列的put(e)方法阻塞的条件,添加任务没有被阻塞,而是检测到中断状态而退出。
接着是一个固定容量为1ArrayBlockingQueue,我们看到其完成了10次发射任务,中断发生之前,队列中还有一个火箭实例,并且两个任务都是被中断的。在最后一次完成发射之后,添加任务被唤醒并执行并在再次执行时由于队列中元素数到达容量上限而进入等待,此时接收到中断命令,于是在休眠中的发射任务直接抛出中断异常,而添加任务也在等待中直接抛出中断异常。
其次是SynchronousQueue,这是一个特殊的阻塞队列,我们看到它也执行了10次发射任务,中断发生时,队列中没有元素,并且2个任务都是被中断的。这个最容易理解:最后一次发射之后发射任务进入休眠的过程中,由于发射任务的take()方法没有运行,因此添加任务的put(e)也会被阻塞。
关于其他的阻塞队列,参考 其他重要的并发组件。